Chapter 2 FPGA 入門 Hello World 程式 - 點亮 LED
看到這個網頁似乎是蠻簡單的, 來試試 FPGA 的 Hello World 來點亮 LED - Get Started on FPGA Programming, 照著這個一步步來 (雖然我的板子跟他的不同, 改過去應該不會太難)
2.1 硬體準備
- FPGA 開發板 - QMTech Cyclone IV Core board (intel Altera Cyclone IV EP4CE15F23C8N) 的資料 QMTech 官網下載網頁
- 包含使用說明、線路圖
- 包含使用說明、線路圖
- intel Altera USB Blaster : intel 在併購 Altera 後將這條 cable 改成很普通的名字, 叫做 FPGA download cable
- USB 轉 TTL RS232 cable
2.2 安裝 intel Altera IDE Quartus 於 Ubuntu 18.04:
- 原先安裝在 Windows 10, 但是 USB Blaster driver 無法更新, 就放棄, 改裝在 VM 的 Ubuntu 18.04
- 到 intel Altera 的官網下載 Quartus Prime Lite 免費版
- 其它版本 (Standard 及 Pro) 都需要付費. 也得先註冊取得帳號、密碼才能下載.
- 完整版的檔案非常大, 因此我只單獨下載 3 個檔案
- Quartus II Software (includes Nios II EDS)
- ModelSim-Altera Edition (includes Starter Edition)
- Devices: 一定要安裝至少一個 device family, 我安裝我使用的 Cyclone IV 板子
- Arria II device support : Cyclone II, Cyclone III, Cyclone IV device support (includes all variations)
- Arria II device support : Cyclone II, Cyclone III, Cyclone IV device support (includes all variations)
- Intel® FPGA Software Installation and Licensing 文件
- 下載後, 執行 ./QuartusLiteSetup-20.1.1.720-linux.run 來安裝
- 安裝算簡單, 只是要注意 ModelSim 安裝的目錄 (default 是 ~/intelFPGA, 我改成 ~/intelFPGA_lite) 得和 Quartus 的安裝目錄是同一個 (~/intelFPGA_lite)
- 同時也安裝了 device, Cyclone IV
- 安裝算簡單, 只是要注意 ModelSim 安裝的目錄 (default 是 ~/intelFPGA, 我改成 ~/intelFPGA_lite) 得和 Quartus 的安裝目錄是同一個 (~/intelFPGA_lite)
- 安裝完畢後, 執行檔位於 ./intelFPGA_lite/20.1/quartus/bin/quartus 下
$ # 執行 Quartus 程式
$ ./intelFPGA_lite/20.1/quartus/bin/quartus
2.2.1 安裝 Altera IDE Quartus 設定及遇到的問題
- Quartus 一執行時就出現錯誤訊息 Failed to load module “canberra-gtk-module”
- 根據 Failed to load module “canberra-gtk-module”, 解決方式如下
$ sudo apt install libcanberra-gtk-module libcanberra-gtk3-module
$
執行 Processing - Start Compilation 後, 出現錯誤訊息 Altera Quartus Error (12007): Top-level design entity “……” is undefined:
- 根據 Stackoverflow - Altera Quartus Error (12007): Top-level design entity “……” is undefined 的第二個答案, 到 menu 的 Assignments - Settings - General - Top-Level Entity - Select Entity 去選取我的 project, 名稱是 MyProj
執行 Processing - Start Compilation 後, 出現錯誤訊息 Can’t launch ModelSim-altera simulation software: 得注意 2 點
- 參考 intel 文章 “Can’t lunch ModelSim-altera simulation software”, 需要確定以下設定的目錄
- Tools - Options - General - EDA Tool Options - ModelSim-Alt… : 我的設定是 /home/ubuntu/intelFPGA_lite/20.1/modelsim_ase/linuxaloem
- 另外, 我一開始的設定 Assignment - Settings - EDA Tool Settings - EDA tools - Simulation - Run Tool Automatically - [x] Run gate-level simulation automatically after compilation 設成 enable, 把它 disable 後就可以
- 參考 intel 文章 “Can’t lunch ModelSim-altera simulation software”, 需要確定以下設定的目錄
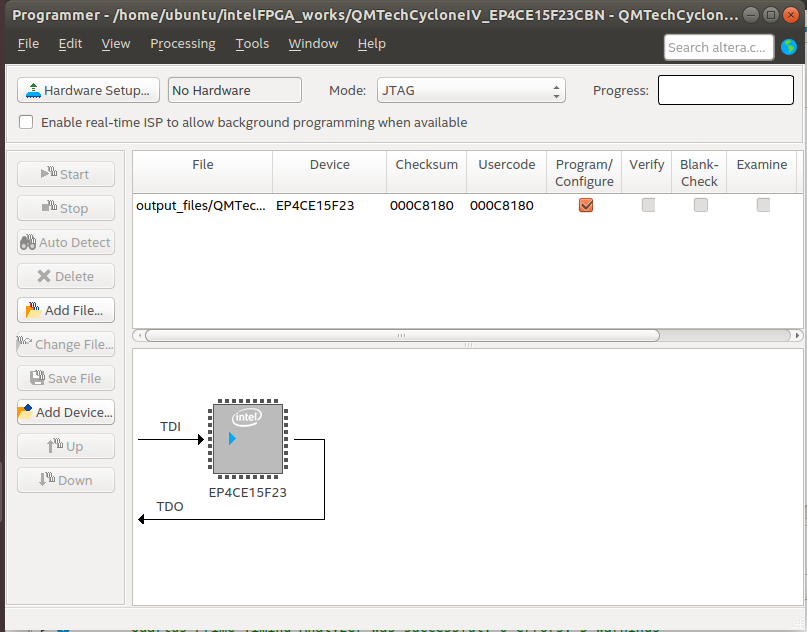
關於 USB Blaster 的 driver 設定: 在安裝 Quartus 之後, ‘理論上’ USB Blaster 的驅動程式應該已經安裝完成, 而且, 進入 Tools - Programmer - Hardware Setup - Hardware Settings 也可以選得到 USB-Blaster (port 2-2.2), 但是, 在 Programmer - Start 後, Progress 會出現 failed, 安裝以下設定後才能順利運作, 也才發現, 在沒安裝前, Hardware Setup 下的 Hardware Frequency 是空的, 安裝後, 會顯示 6,000,000 Hz.
- intel FPGA Download Cable / USB Blaster 官網的資料 , 用途不大, 現在已經不再用 USB Blaster 這名詞, 改名為 intel FPGA Download Cable
- USB Blaster 的 driver 設定: 參考網站文章 Using USB Blaster / USB Blaster II under Linux
- Driver Setup for Ubuntu : For Ubuntu 12.04/14.04/16.04 create the file /etc/udev/rules.d/51-usbblaster.rules with the following contents:
- 也適用 Ubuntu 18.04
- intel FPGA Download Cable / USB Blaster 官網的資料 , 用途不大, 現在已經不再用 USB Blaster 這名詞, 改名為 intel FPGA Download Cable
$ # 建立 /etc 下的檔案需要用 sudo
$ sudo vi /etc/udev/rules.d/51-usbblaster.rules     # 輸入以下內容

# USB Blaster
SUBSYSTEM=="usb", ENV{DEVTYPE}=="usb_device", ATTR{idVendor}=="09fb", ATTR{idProduct}=="6001", MODE="0666", NAME="bus/usb/$env{BUSNUM}/$env{DEVNUM}", RUN+="/bin/chmod 0666 %c"
SUBSYSTEM=="usb", ENV{DEVTYPE}=="usb_device", ATTR{idVendor}=="09fb", ATTR{idProduct}=="6002", MODE="0666", NAME="bus/usb/$env{BUSNUM}/$env{DEVNUM}", RUN+="/bin/chmod 0666 %c"
SUBSYSTEM=="usb", ENV{DEVTYPE}=="usb_device", ATTR{idVendor}=="09fb", ATTR{idProduct}=="6003", MODE="0666", NAME="bus/usb/$env{BUSNUM}/$env{DEVNUM}", RUN+="/bin/chmod 0666 %c"2.6 輸入 VHDL 檔案內容
-- MyProj "Hello, FPGA"
library IEEE;
use IEEE.STD_LOGIC_1164.ALL;
entity MyProj is
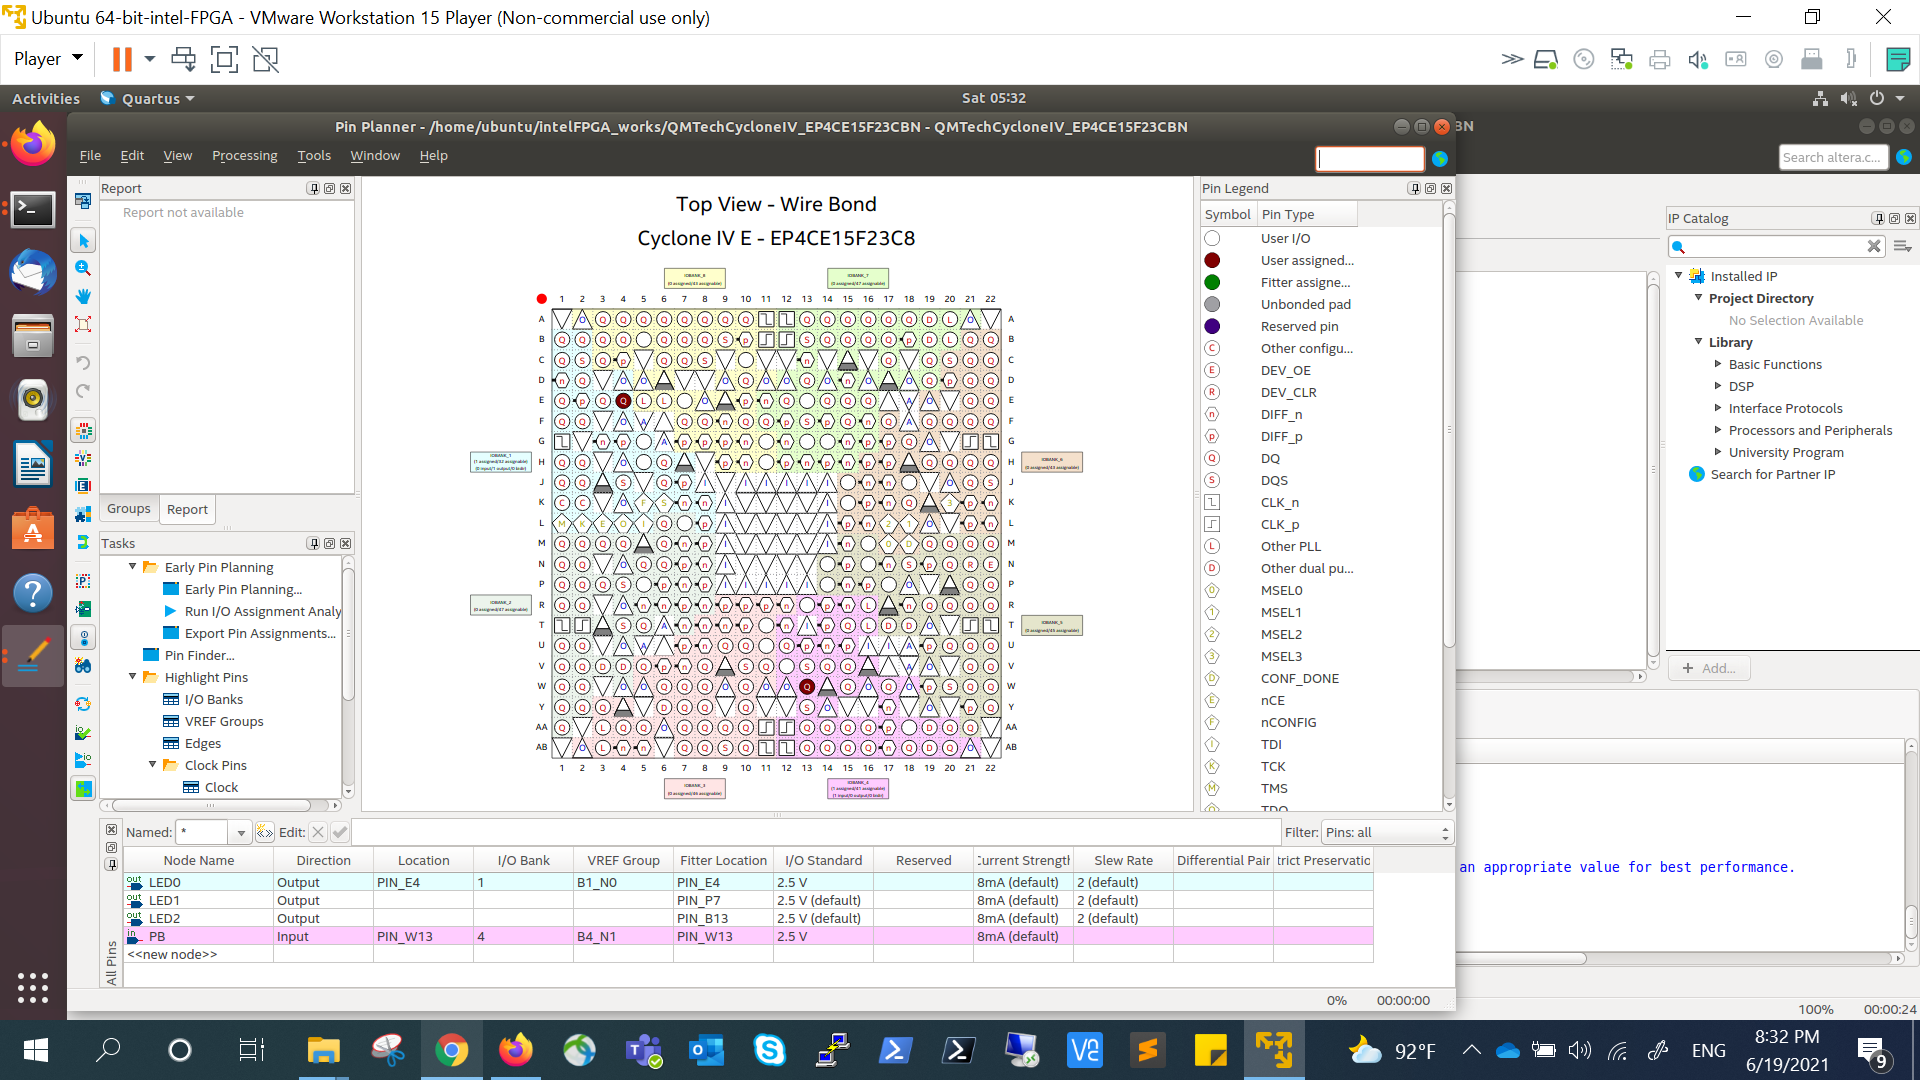
 Port (PB   : in  STD_lOGIC;  -- pin 144
       LED0 : out STD_lOGIC;  -- pin 3
       LED1 : out STD_lOGIC;  -- pin 7
       LED2 : out STD_lOGIC); -- pin 9
end MyProj;
architecture Behavioral of MyProj is
begin
 LED0 <= PB;
end Behavioral;
2.9 再編譯一次, Processing - Start Compilation
2.11 Bonus 1 : 轉檔, 從 VHDL 檔案轉成 Verilog 格式, 程式下載點 http://doolittle.icarus.com/~larry/vhd2vl/
# 轉檔
$ tar — extract — file vhd2vl-2.5.tar.gz
$ ./vhd2vl MyProj.vhd > MyProj.v
# note that Verilog file’s extension is .v
